

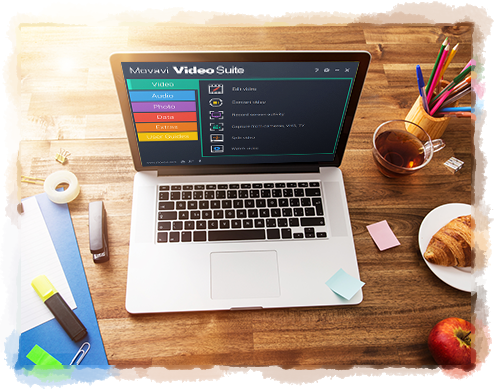
Movavi Video Suite is an all in one video software that allows you to create and edit the three main types of videos including screencast, webcam video and creating photo slideshows. The screencast recording tool is perfect for recording an online tutorial that involve showing the steps on a software that is opened on your desktop. You can also take advantage of the screen recording tool to record lots of movies from the video sharing site. Movavi video editor also allows you to record a face to face video of yourself with your webcam plugged into the computer. It has no problem in detecting all models of webcam no matter if it is an old or new model. It can also detect both external and built in webcam.
Movavi Video Editor Suite features a timeline storyboard where you carry out most of the video editing tasks. The cut tool is especially useful when there are some not perfect shots that you want to delete from the video. For example, if there are excessive background noise in a certain part of the video, you can use the scissor tool to cut out the part. Deleting a part in the video is easy. Before the video can be cut, you must first select the scissor tool. Next, you can drag the red marker to highlight the unwanted part and press the Delete key to delete it.
You may also find the need of having to crop your video to hide some details that exist throughout the video that you don’t want the audience to see. Cropping the video will remove the space around the square cropping frame that contains the unwanted details. Once your video is cropped, the dimension size of the video will become smaller.
You can choose from a wide range of title styles to showcase the text in different ways on your video. There are both static and animated title styles to choose from. All kinds of title styles can be added such as simple text, slanted text, small subtitles, bubbles, rainbow and etc. if you want to add text overlay on the video, you must drop the title style onto the T row in the timeline track. You must drop the title style on the specific point of the video in the timeline track. Get more details at https://www.movavi.com/suite/.
You can load your photos into Movavi Video Editor Suite to create a slideshow for various purposes. You will be able to drag the photos and rearrange the sequence to create the slideshow for your project. Audio track can be added into the timeline to increase the atmosphere and stir up the emotion in the audience.
You can add fade out audio transition to make the soundtrack dies away slowly at the end of the video. The fade in audio transition can be add in the beginning video to let the soundtrack slowly become louder and louder as it reveal the video content. You can adjust the duration of both the fade in/fade out audio transition.